Showing posts with label yarn. Show all posts

Sep 19, 2013

DIY Yarn Lights

Ok my friends!


I have officially lost it. Can you find it anywhere? Any store where it is  available at a discount or a buy 1 get 1 free offer?? Any advice on how to regain it back? Have you lovely people been in this position before? In case you are still with me.. and want to find out what I have lost.. here goes nothing..


and also I do not understand what my kids want anymore..
I always knew raising 2 small kids would be a challenge, but now a days my little man is in his terrible two's and my little princess hasn't yet grown up from her terrible two's! Its been so frustrating for me as a mother. I really don't know sometimes if I am doing the right thing. Is it more important that they follow rules or eat their food? I am trying to get my girl to eat on her own and that is requiring a lot of effort. My son just refuses to sit in one place even for 5 minutes!! Why are their batteries always fully charged?? Uff!!


 Anyways, I remember to take a deep breath and imagine that they will grow up and I will laugh about this post :) SO coming back to my crafty pursuits, I had done this with all the spare yarn. More specifically cotton threads with me.


I followed this link HERE and a bit of my own research and experiments to make this lantern lights. Added a string of lights inside to complete the picture.


This was done for my son's school - DIY Lantern from Recycled materials. It is a very VERY messy affair to do it. But the results are just amazing. Go ahead and have some fun, try to include your kiddo in this process, I am sure they will have a blast!
 

So I am off to set my house straight...It really looks like a hurricane crashed into it ..he he!

Hope you have a pleasant weekend ahead. We have a long weekend here for the Mid-Autumn Festival. Did I say long weekend, yes 3 days of 3 (2+ 1 hubby) kids all the time in the house...ahhhh.. wish me LUCK!!!

Love,
xxx

Apr 16, 2013

Vibrant Cotton and a Must-Have Book

Helllo my LOVELY people.

Hope you ladies are fine and all that...

Today, its a bit of a rush post as my hands are waiting to hook - i have an almost 99% finished ripple to show off and yummy delicious cotton threads waiting to be made into something fun, useful and decorative!

I had to show you guys my new yarn. Its the RICO Creative Cotton ordered from Deramores. Link HERE.


The colors..oh the colors...they are toooo good to be true...Yummy, colorful and delightful. Every crocheter's delight! For my readers who are in India, the thickness is very similar to the Laura Cotton you are familiar with. But the texture, it is very different.


Very soft and very thin threads not so split y as Laura but it is much softer than Laura. The color shades are much wider here and have a great finish to it. But the similarity is that both are fast colors. I tested the usual suspect - Red and Purple, first wash of the strand yielded a bit of color bleed, the second time not much. So guess the first wash has to be at the dry-cleaners :) Recommended for home decor projects, mandalas , buntings, purses and such stuff. Not recommended for use on clothing.


Now, as i promised earlier - A Book Review of Around the Corner Crochet Borders by Edie Eckman.
A must have book for any one who loves making blankets and adding a touch of crochet to home items.


Doing the border from my ripple using the Border #42.

 Best part of this book is how she has told us to do the corners. I now have a perfect cornered blanket :)
2 more rows to go and i will have a Ta-daah for you very soon!!


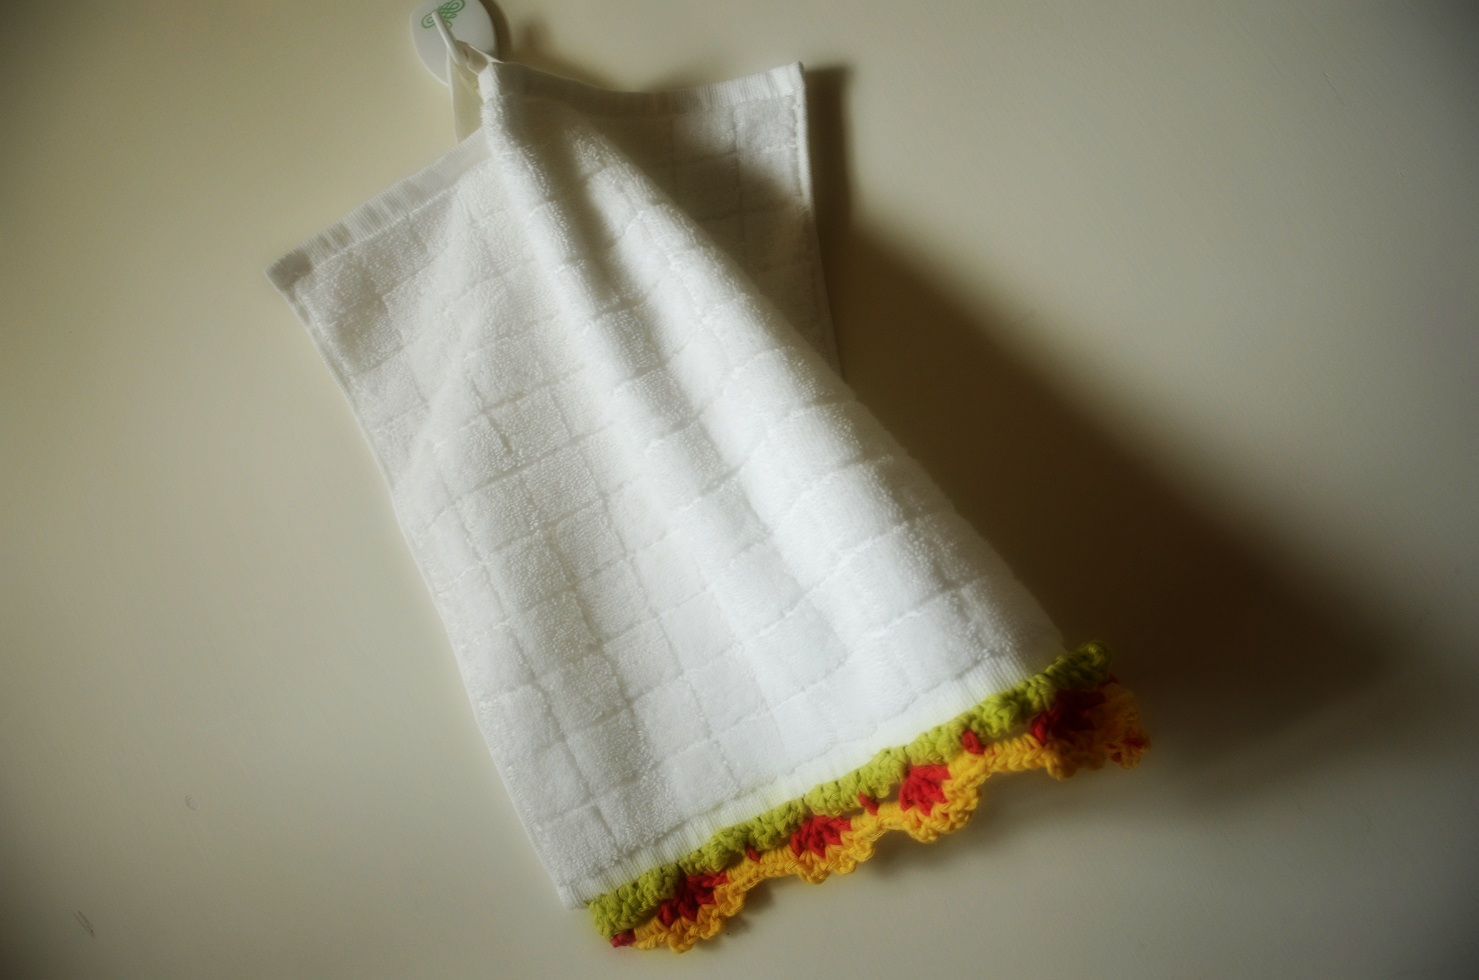
 The hand towel is done with Border #73 and Rico Cotton.


A few more on my to-do list..


 This would look great as an edging for any girl's dress, what say?


There you are my lovelies... New yarn, new projects, new books - a world of possibilities i must say :)

Finally, a dear fellow blogger Nata from Nata's Nest gave me a pleasant surprise and passed on a sweet award to me HERE.


Thank you so much dear for this appreciation! She is very creative and you must pop over at her place for a visit and wont be disappointed!!

So off i am dearies, got to get busy with the border and be done with it.
Till then, have fun, be crafty and stay happy :)

Jan 3, 2013

Gaint Granny Patch Blanket - Ta-daah!!

Hello my LOVELY people!

Wishing you all a fantastic New Year 2013 and hoping it will be filled with love, health and lots of crafty adventures.

I have something very special to show you guys today. After drooling over all the yummy pictures and posts of the famous StyleCraft DK yarn i gave in to temptation and ordered my first batch of this gorgeous yarn. You can read more about yarn info HERE.


Well i started this blanket way back in Sept 2012. Greatly inspired by Sandra of Cherry Heart's - Gaint Granny Patches. It was love at first sight. I knew i had to had to make something on the similar lines.. But the problem was i cannot have such a huge project on the move. Her's was a join-as-you-go one, which was an absolute no-no for me.. Had spent a few weeks in gathering up courage to do these small squares and later on join them - I though i will cross the bridge when it comes..and i gave birth to 2 kids normally, this can't be harder than that (yes, that's my yardstick now..he he) Thus began the journey of hooking my grannies..They grew from 1 to 100's. I sneaked in a few before meal-times, during nap-times, in-between cooking meals and stealing precious hours when everyone was asleep..

 They grew and grew and i finally had 672 squares! Mind you, i could have finished the blanket by now..But no, being me had to make things difficult. Then started the entire process of arranging the squares and joining them. With 18 colors to choose from this is not an easy task. I m not so much of a random fan and also i wanted an equal spread of the dark maroons and reds with the lighter pinks and blues and peaches..So i packaged the squares into 28 packets of 24 squares each..yes i am really happy i had a Degree in Engineering!!

..and then the joining began..

This was a slow task but it was TOTALLY worth it, i could plan and change as much as i wanted and also this is the ONLY way i could get this blanket done with 2 small kids and an even smaller house!!

I am feeling specially pleased and excited to show you the reveal..
Here you go...
..

Gaint Granny Patch Blanket Ta-daaah!!


Especially happy with the border. Used the design from 200 Crochet Blocks by Jan Eaton.
The block is Chocolate Box and I ended up just hooking the thin and thick rows as many times as i wanted.

 Palate of colors..

 Yours truly, trying to click a snap in the garden @ my apartment - onlookers thinking i am a crazy lady!
This makes my heart skip a beat..The back of the blanket! Maybe i like this more than the front..
I truly can't believe i had it in my to complete such a huge task..


Here's a look at some info you guys may wish to know:

Yarn : StyleCraft Special DK which can be ordered HERE. They provide the best and fastest delivery world-wide.
Colors :
From top left corner:

1.White - 1001
2. Turquoise - 1068
3.Clematis - 1390
4.Saffron - 1081
5.Shrimp - 1132
6.Fondant - 1241
7.Apricot - 1026
8.Lipstick - 1246
9. White again..
10.Mocha - 1064
11.Aspen - 1422
12.Plum - 1061
13.Meadow - 1065
14.Cloud Blue - 1019
15.Claret - 1123

Apart from these 14 colors i also added some metallic shades and 2 more:

1.Copper - 1029
2.Silver - 1203
3.Pale Rose - 1080
4.Spring Green - 1316

Totally 17 colors - one ball of 100g each and 5 whites 5x100g + 4 shades for the border = approx 2300gms.

Hook Size - 4.00 mm
Square Size : 2.5 x 2,5" / 6 x 6 cm
Square Pattern : Granny Square in 3 rounds. In case you need a TUTORIAL i used a very good one from Heather of Little Tin Bird.
Number of Squares: 672 - 28 rows of 24 squares each
Joining Method : Using SC - a tutorial with lots of pictures from Lucy of Attic24 HERE.
Border: Design from 200 Crochet Blocks by Jan Eaton.The block is Chocolate Box. 3" in thickness.
Blanket Size: 67 x 77 " / 170 x 195 cms
Ravelry Page Link HERE

 My labor of love, works best on the loved ones!!

It drapes over my bed and would be a comfort fit even for a king-size bed.


Me : Totally, utterly, jumpingly HAPPY!!!

When i began this journey i never thought i would get here, but yes 4 months and i am through it..It has been amazingly satisfying and comforting.

Loved sharing this with you guys, my special people... Do let me know what you think of this blanket. Also i have tried to give as much info as possible, still you need anything more, feel free to pop in and ask away..

Leaving you with a melody of pictures.


Have a great crafty year ahead..
Lots of love,
xxx


Aug 30, 2012

Rainbow Bowl

A good morning to all my lovely readers:)

How is your world..mine is very colorful right now, I have been greatly surrounded by color the last couple of days.

I never thought crochet bowls would turn out soo great! Here's what you need:

1.A crochet doily. I worked up a big round motif drawing inspiration from HERE.
2.A bowl - i used the melamine variety and had no problems with removing the doily from on top.
3.Fabric stiffener - which i dint have. Alternately i used ordinary white glue mixed with water in the ratio 3:1.
4.Patience as you need to wait at-least 10-12 hours for the doily to dry, i gave it 6 hours actually. But at the end of 24 hrs it was actually pretty stiff and stable. I was thrilled to bits to see the white glue work :)

Here's what you need to do -

1.Make a mixture of the white glue and keep it ready.
2.Dip your doily in it liberally.
3.Place the cup, upside down and cover it with the doily, smoothing the edges as you like them, Try to give it a round appearance by shaping it with your hand. Yes, i dint promise a clean affair :D
4.Take a paint brush and dip some more glue and paint it over the doily.
5.Preferably keep the doily in a sunny place to dry or at-least where there is some fresh air.

Let the waiting being!!


Perfect to keep your bits and pieces. Or also as a show piece. Or also as a gift. Or also as a toy. Or also as ....you get the idea! Lotsa possibilities basically!!


Are you guys looking at my new Stylecraft Special DK yarn!!! A post about my latest stash coming up sooon. Watch this space. Love to hear from you lovely people. It makes my day special!

Have fun and take good care,
Lots of love,
xxx

Jul 21, 2012

Pretty in Red

Good Morning my lovely people!

Hope you are having a pleasant  start to your weekend :)

It is getting hot and humid in Hong Kong and i am missing the cool and pleasing climate of my hometown Bangalore. For this summer i had crocheted a jacket for my little miss.


A look at it here.


Ok ok !! i still have to stitch the buttons on :) But arnt the buttons sooo cute. No wonder we have the expression - As cute as a button!

The shrug/bolero/jacket is my own creation. I have used the lace pattern from mypicot.com. The link for the pdf is here. This is totally customizable. The yoke is the standard double crochet increases one. The cap sleeves have a picot edging.


 The back of the shrug.


and here is my model wearing it, although she wasnt very keen on it!

Maybe it is one or two sizes too big. But hey, she will grow into it :)


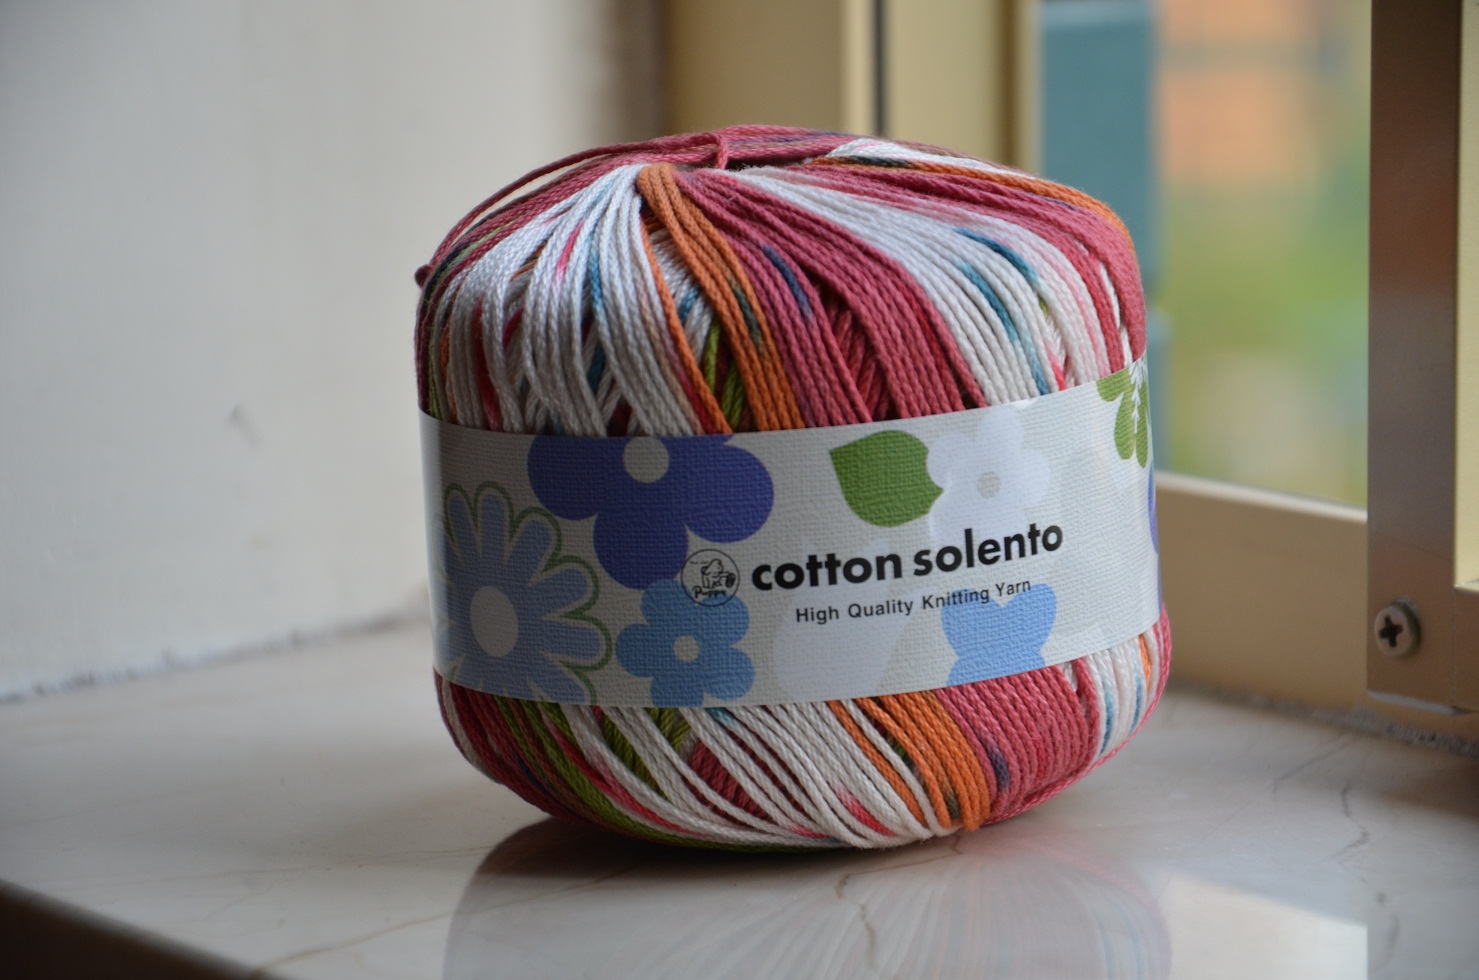
Leaving you with some yummy cotton yarn i picked up from a store near my house. I dont know what make or company it is. Neither do i know what i am going to do with it. But it was too too pretty to pass. Any ideas on what i can do with it? 


Waiting for your comments and wishing all my hooky friends a wonderful day!

Love
xxx

PS: I do have my Nikon D1500 back with me now, in case you have noticed the improved quality of the images in the post :)